


Planning a Pool Plaster Project: A Homeowner’s Checklist
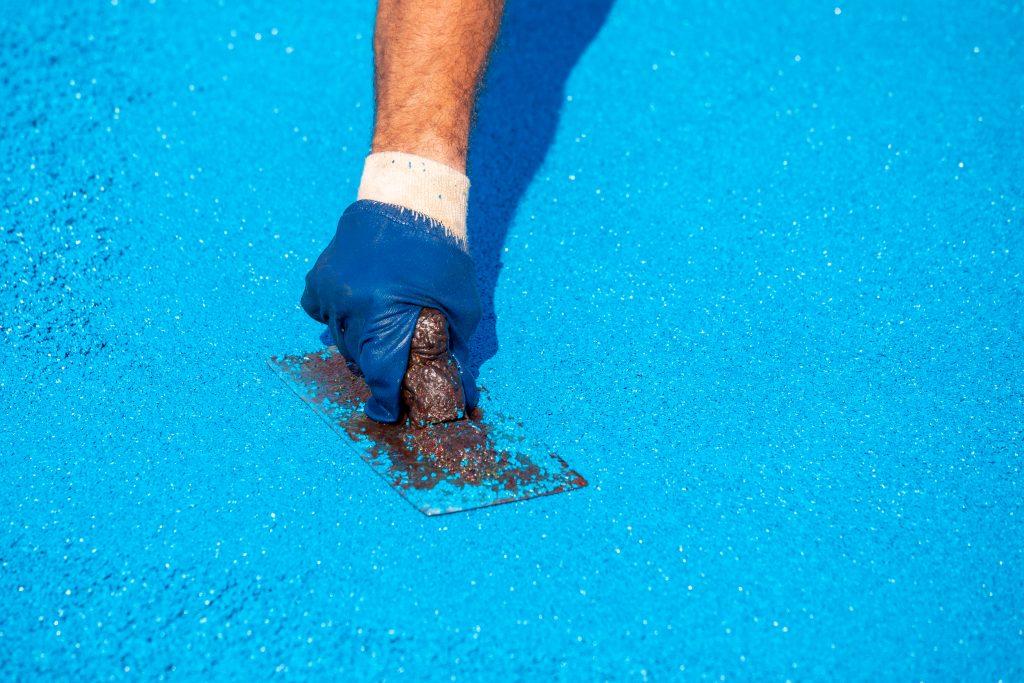
Replacing a pool’s interior finish is one of the bigger decisions a homeowner can make about a backyard pool. It touches the look of the pool, the way it feels underfoot, and how long it stays enjoyable. It also raises a lot of questions, and it is easy to feel unsure where to begin.
A simple checklist can help. This guide walks through the main points to think about before you move forward with expert pool plastering, from judging the condition of your current plaster to understanding what shapes a project.
Step One: Look at the Pool as It Is Today
Start with an honest look at the surface. Run your hand along the walls and steps. Check the floor and the waterline for stains or fading. Notice anything rough, worn, or damaged.
Plaster that is noticeably worn, rough, stained, discolored, or damaged may be reaching the end of its useful life. A few quick notes on what you find will help a contractor understand the situation faster.
Step Two: Understand That Replacing the Finish Is Not Rebuilding the Pool
Many homeowners assume that an aging pool means a major rebuild. That is often not the case. When the current plaster has deteriorated substantially, replacing the interior finish can be a practical alternative to rebuilding the entire pool.
The pool’s structure stays in place, and the work focuses on the surface you swim in and look at every day. Knowing this can make the decision feel far more manageable.
Step Three: Check for Cracks and Water Loss
Plaster problems sometimes travel with other issues. Cracks, surface deterioration, and unusual water loss are all reasons to have the pool examined before deciding how extensive the work should be.
Some isolated cracks may be addressed without redoing the whole interior, while other situations call for resurfacing or broader restoration. The location, size, cause, and surrounding condition of the damage all matter. An evaluation is the best way to find out which category your pool falls into.
Step Four: Know What Shapes the Cost
Cost is usually the first question, and it has no single answer. Bigger pools mean more surface to cover. Rougher or more damaged plaster takes more preparation. Repairs found along the way and the finish you choose add to the picture.
The scope matters too. Tile, coping, or deck work added to the project will raise the total. A reliable number comes only after someone has looked at your pool in person.
Step Five: Treat the First Visit Like an Interview
If you are weighing pool plastering in Homestead, FL, pay close attention to how the first visit goes. Does the contractor walk the whole pool, ask what you have noticed, and explain what they see in plain language? Or do they hand you a number within minutes?
A recommendation that arrives before any real inspection is a warning sign. The better sign is a contractor who can tell you why they suggest new plaster, resurfacing, or a smaller repair, and who is comfortable answering follow-up questions.
Step Six: Decide on the Scope of Work
Plastering can be a focused project, or it can be part of something larger. Some homeowners want only a refreshed interior. Others see the project as a chance to update tile, coping, the pool deck, or features such as floating pool benches.
If you think you may want any of these upgrades, raise them early. Planning related work together can make the project easier to coordinate than handling each piece separately.
Step Seven: Ask About Timing
Homeowners often want to know how long the work will take. The honest answer depends on the size of the pool, the preparation it needs, existing damage, the finish selected, and the weather. Extra restoration work can lengthen the schedule too.
Ask for a schedule built around your pool after the evaluation, and ask how the contractor will keep you informed if plans change.
Step Eight: Plan for Life After the Project
A new finish does not age on its own timeline. Its lifespan depends on the material, the quality of installation, how the water is managed, how often the pool is used, and environmental exposure.
Some of those factors are in your hands. Day-to-day care does more than most people expect, since how you look after the water and how regularly you tend the pool both feed into how the finish ages. Ask your contractor whether the new surface has any special care requirements.
Putting the Checklist to Work
Think of the steps above as a set of questions to answer in order. What does the surface look like now? Are there cracks or water loss? What is driving the cost? Who will you trust to give honest advice? How far should the project go? How will you look after the result?
You do not need perfect answers to every one of these. Having thought about them is enough to make your first conversation with a professional far more productive.
Final Thoughts
A new plaster finish can change how a pool looks and feels, and a little planning helps you get the most from it. Take your time, ask questions, and look for advice that fits your pool rather than a standard package.
When you are ready to have the surface looked at, Picky Pools Plaster handles pool plastering, resurfacing, crack repair, and renovation for homeowners, and starts from what the pool actually needs. Let the condition of your pool guide the plan.

 English
 Arabic
 French
 Spanish
 Portuguese
 Deutsch
 Turkish
 Dutch
Dutch
 Italiano
 Romaian
 Portuguese (Brazil)
 Greek
Greek
 Bengali