


Expert Oversized Logo Stitch Programming
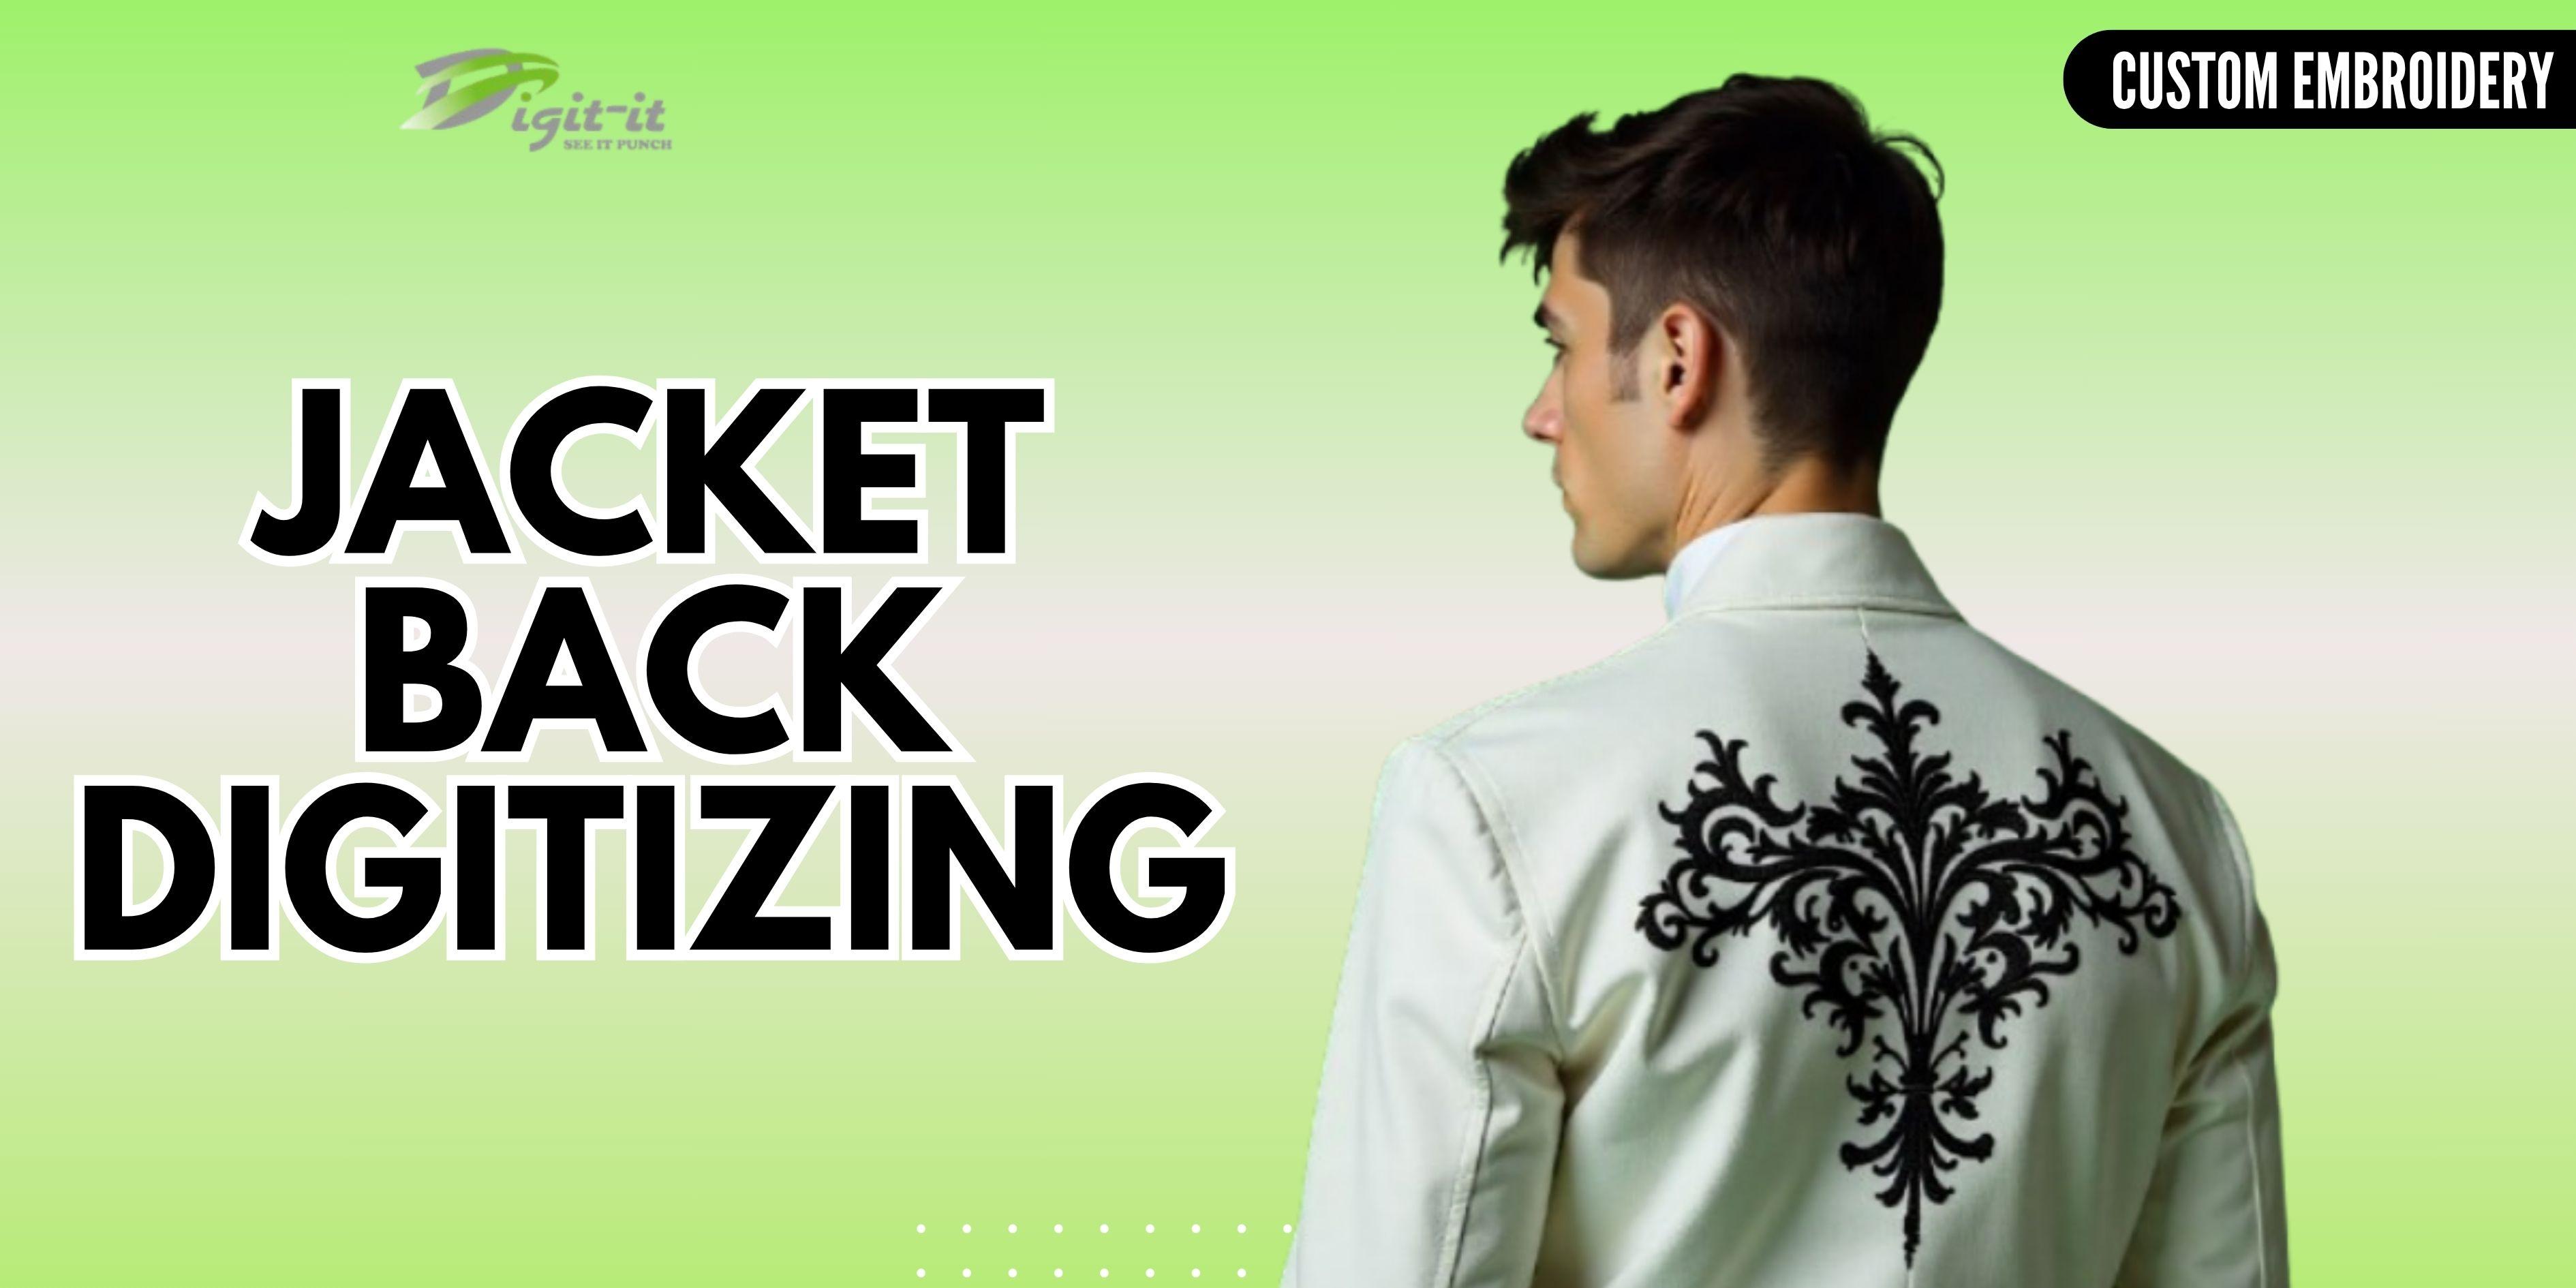
Start Strong with Oversized Logo Stitch Programming
Oversized designs can make jackets, sweatshirts, uniforms, and workwear look bold and professional. However, large embroidery designs need more than simply increasing the size of a small logo. The stitch plan must be carefully adjusted so the final embroidery stays clean, balanced, and durable.
Oversized Logo Stitch Programming helps control stitch direction, density, underlay, pull compensation, and sequencing. When these details are planned correctly, large logos can maintain their shape without becoming heavy or rough.
A good digitizer also considers the fabric before creating the stitch file. Thick jackets behave differently from lightweight garments, so the programming should match the material, design size, and embroidery machine.
Plan the Design Before Stitching
Before starting, check the complete artwork and decide which areas need the most attention. Large logos often contain wide letters, thick borders, curves, and detailed shapes.
The first step is to identify the main sections of the design. Separate large filled areas from smaller details. This makes it easier to choose suitable stitch types and avoid unnecessary thread buildup.
Always consider the final size. A design that looks perfect on a computer screen may behave differently when stitched at a larger scale. Planning early helps prevent problems during production.
Control Stitch Density Carefully
Large embroidery designs can quickly become too dense. When too many stitches are placed in the same area, the fabric may become stiff, puckered, or distorted.
Oversized Logo Stitch Programming should use balanced density instead of simply adding more stitches for stronger coverage. Wider areas may require adjusted stitch spacing, while smaller sections may need tighter settings.
Good density creates a smoother finish and also reduces thread consumption. It can make the design more comfortable to wear, especially when embroidered on jackets or other garments that already have heavier fabric.
The goal is complete coverage without creating unnecessary layers of thread.
Choose the Right Underlay
Underlay provides support underneath the visible stitches. It helps stabilize the fabric and gives the top stitches a stronger foundation.
For large logos, the right underlay can make a major difference. Without enough support, edges may shift and details can lose their shape. Too much underlay, however, can create extra bulk.
The best setting depends on the fabric, design size, and stitch type. A professional digitizer tests the design and adjusts the foundation rather than using the same setting for every garment.
This approach improves stability while keeping the embroidery flexible and clean.
Improve Stitch Direction
Stitch direction affects both appearance and stability. When all parts of a large logo run in the same direction, the design may look flat or develop unwanted texture.
Oversized Logo Stitch Programming allows each section to receive a suitable stitch angle. Changing directions can create visual contrast and help the embroidery follow the shape of the artwork.
For example, curved sections may need stitch angles that follow their form, while broad lettering can use a different direction for better coverage.
Correct direction also helps reduce fabric movement. When stitches are planned logically, the design can appear more polished after stitching.
Manage Pull and Push Compensation
Embroidery thread naturally pulls fabric toward the stitched area. Large designs can make this effect more noticeable, especially around borders and wide lettering.
Pull compensation adds a small amount of extra width where needed to help the finished design match the original artwork.
Oversized Logo Stitch Programming should account for this movement from the beginning. If compensation is ignored, letters may appear narrower than expected, gaps can develop, and borders may not connect properly.
The correct amount depends on the fabric and stitch structure. Testing remains important because heavy jackets and soft garments react differently during embroidery.
Build a Smart Stitch Sequence
Stitch order is another important part of large embroidery. A poor sequence can create unnecessary movement and increase the chance of registration problems.
Start with the sections that provide structure, then move toward the details and finishing elements. Borders should be planned so they sit correctly over the main fill areas.
A smart sequence can also reduce unnecessary jumps and trims. This saves production time and helps create a cleaner reverse side.
For jacket embroidery, the sequence should also consider how the garment is hooped and how different areas may move during stitching.
Handle Large Jacket Designs Efficiently
Large jacket logos often require special attention because jackets can include thick materials, linings, seams, and uneven surfaces. These factors can affect how the embroidery machine handles the design.
Large Volume Jacket Digitizing is especially useful when multiple large jacket designs must be prepared for production. Consistent settings and careful testing can help maintain quality across repeated orders.
When working with jacket backs, make sure the design is positioned correctly and does not interfere with seams or difficult areas. A strong stitch plan should support both visual quality and production efficiency.
The design should also be checked at actual embroidery size before final delivery.
Reduce Thread Waste and Production Time
Large designs naturally require more thread, but poor programming can increase consumption unnecessarily. Excessive density, repeated stitches, and inefficient sequencing can all add to production costs.
Oversized Logo Stitch Programming can reduce waste by removing unnecessary stitches while keeping important areas properly covered.
Shorter travel paths can also reduce machine movement. Fewer unnecessary trims can improve production speed. These small improvements become valuable when producing many garments.
The objective is not simply to reduce stitch count. Instead, every stitch should have a purpose and contribute to the quality of the finished design.
Test Before Full Production
Testing is one of the most important steps in professional embroidery. Even a carefully prepared file can behave differently depending on the machine, needle, thread, stabilizer, and garment.
Run a sample before producing a large batch. Check the edges, corners, lettering, density, registration, and overall appearance.
If the design looks too heavy, reduce density where possible. If small areas disappear, adjust their size or stitch structure. If edges shift, review the underlay and compensation.
A sample gives you an opportunity to correct problems before they affect a full order.
Keep Small Details Clear
Large logos often contain small text, narrow gaps, or fine outlines. Enlarging the artwork does not automatically make every detail suitable for embroidery.
Some details may need simplification. Very narrow sections can become crowded when stitched, while tiny gaps may close completely.
Oversized Logo Stitch Programming should focus on embroidery-friendly shapes rather than copying every small element from the original artwork.
A skilled digitizer knows when to simplify and when to preserve detail. This creates a design that looks clear from a normal viewing distance and remains practical for machine production.
Match Settings to the Garment
Different garments require different embroidery strategies. A thick denim jacket can support a different stitch structure than a lightweight hoodie.
Fabric thickness, stretch, texture, and stability should all influence the programming process.
For jackets, strong stabilization and controlled density are often important. For softer garments, excessive stitching may cause stiffness or distortion.
Matching the design to the garment improves the final result and reduces the risk of production issues.
Review the Final File
Before sending the design to production, review the complete embroidery file. Check the stitch count, colors, sequence, trims, jumps, underlay, and size.
Make sure the design is centered and that important elements are positioned correctly. Look closely at lettering and borders because these areas often reveal registration or density problems.
Oversized Logo Stitch Programming becomes much more effective when every part of the file is reviewed before production.
A final check can save time, thread, garments, and machine hours.
Get a Free Quote
Create Cleaner Large Embroidery Results
Large logos can deliver a powerful visual impact when they are programmed correctly. The key is to control every part of the embroidery process instead of relying only on the artwork.
Use suitable density, strong underlay, correct stitch directions, smart sequencing, and proper compensation. Test the design before production and adjust settings according to the garment.
Oversized Logo Stitch Programming is not simply about making a design bigger. It is about making a larger design work successfully on fabric.
With careful planning and testing, oversized jacket logos can achieve sharp edges, smooth coverage, balanced texture, and dependable production quality. These techniques help digitizers create embroidery files that are easier to stitch and better suited for professional jacket production.
Ready to get started? Get a Free Quote Now or Contact Us today to turn your ideas into stunning embroidered art.
Beyond embroidery, we also offer AI Digital Marketing Services in USA.
Author: Digit-it
Experts in Custom Embroidery Digitizing – Trusted by Clients Nationwide
Website: www.digit-it.com | Email: digitize@digit-it.com |
Contact: +1(231)-821-5515
WhatsApp: +44 7598 989500
Secure, Professional, and Committed to Quality – View our About Page and Contact Information for Trust & Support.

 English
 Arabic
 French
 Spanish
 Portuguese
 Deutsch
 Turkish
 Dutch
Dutch
 Russian
 Romaian
 Portuguese (Brazil)
 Greek
Greek
 Bengali