


Turn Your Image into a PES Embroidery File in 3 Simple Steps
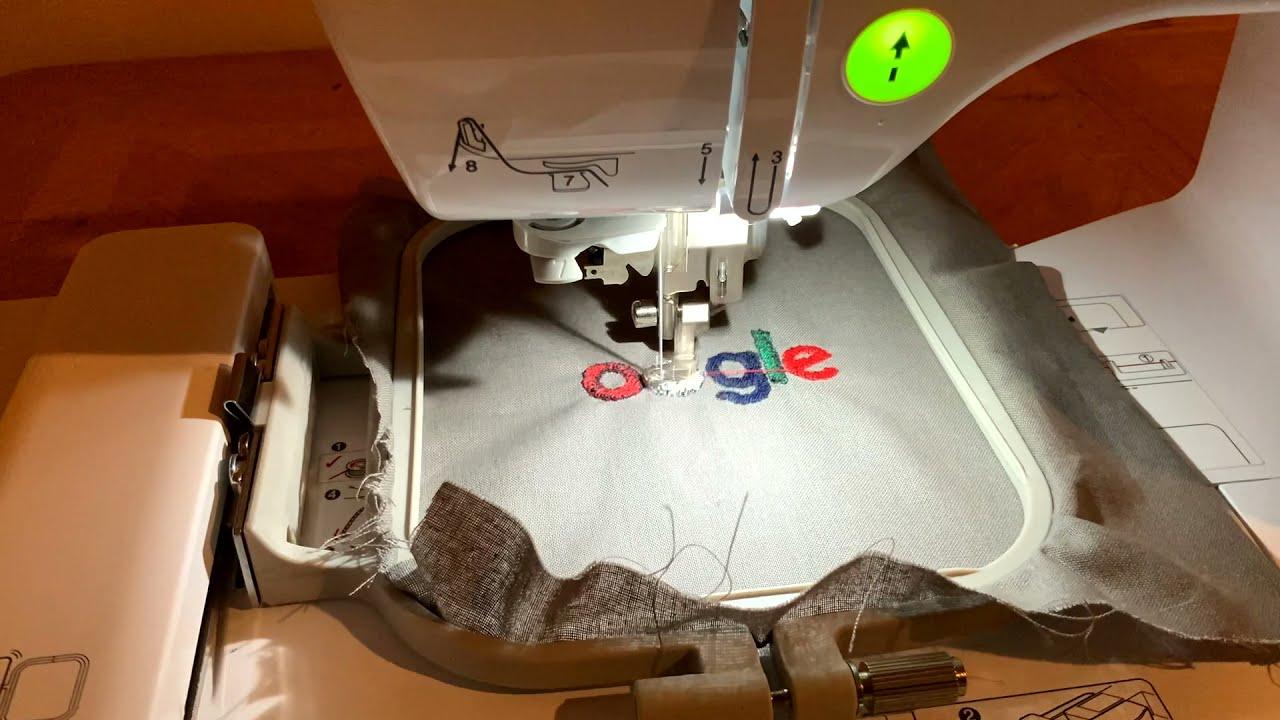
Introduction
You have a logo, a graphic, or even a hand-drawn sketch you desperately want to stitch onto a hat, jacket, or tote bag. Your Brother or Babylock embroidery machine is sitting there waiting. But there's a wall between your image and that first perfect stitch: you need a PES file. This is the native language your machine speaks, and without it, your design is just a picture. The good news? You absolutely do not need expensive software or a professional digitizer for basic projects. Learning to Convert Image To PES File Free is easier than ever in 2026, thanks to powerful open-source tools and generous free trials. This guide breaks the process down into exactly three simple steps, so you can go from digital image to embroidered reality this afternoon.
What You Need to Know Before You Start
A PES file is not an image. You cannot rename a JPG to .PES and expect magic. A PES file is a set of machine instructions—stitch coordinates, thread color changes, and sequencing . The process of creating these instructions is called digitizing.
The three-step method we’re using focuses on Ink/Stitch, a completely free, open-source embroidery extension for Inkscape. It’s the most powerful zero-cost solution available, and it runs on Windows, Mac, and Linux . This is the tool you will use to turn your image into stitches.
Step 1: Prepare Your Image for Digitizing
This is the most important step. Embroidery machines are blind to complexity—they need clear, bold shapes to work with. Your job is to strip your image down to its bare essentials.
What to do:
-
Choose a simple image. Start with a logo or graphic that has bold outlines and no more than 3-6 colors. Avoid photographs, gradients, or tiny text for your first project .
-
Remove the background. You want a clean, transparent background so the digitizing software focuses only on your design. Use a free online tool like Remove.bg or any photo editor. Save the result as a PNG .
-
Reduce your colors. Use photo editing software to posterize or simplify your image down to a handful of solid colors. The fewer colors, the cleaner your stitch file will be .
Why this matters: Ink/Stitch works best when it receives clean vector shapes. A cluttered, noisy image will produce a cluttered, noisy embroidery file.
Step 2: Convert Your Image to Stitches Using Ink/Stitch
Now comes the transformation. You will use Inkscape and the Ink/Stitch extension to turn your prepared image into a stitchable design.
A. Install your tools (one-time setup):
-
Download and install Inkscape (free from inkscape.org).
-
Download and install the Ink/Stitch extension (free from inkstitch.org). You need both .
B. Import and vectorize your image:
-
Open Inkscape. Go to File > Import and select your prepared PNG.
-
With the image selected, go to Path > Trace Bitmap. A window will appear on the right .
-
Experiment with the settings. For simple logos, the "Brightness cutoff" or "Colors" modes work well. Click Update to preview, then Apply. This converts your pixel image into crisp, editable vector paths .
-
Delete the original pixel image beneath your new vector tracing.
C. Assign stitches (the magic step):
-
Select a vector shape in your design.
-
Go to Extensions > Ink/Stitch > Params. This opens the stitch settings window .
-
Choose your stitch type:
-
Satin stitch for borders, text, and thin areas. It creates a smooth, raised edge .
-
Fill stitch (tatami) for large solid areas. It covers space with running stitches .
-
Running stitch for delicate outlines or sketch effects .
-
-
Adjust density and underlay if you’re comfortable. For beginners, the default settings are a fine starting point .
-
Click Apply and Quit. Be patient—for detailed designs, this can take a minute or two. A blank dialog box will appear; this is not an error. Wait for the preview to generate .
Pro Tip: Use the Ink/Stitch > Visualize and Export > Embroider Preview to see a realistic simulation of how your design will stitch out .
Step 3: Export Your PES File and Test Stitch
You have stitches. Now you need a file your machine can read.
A. Export as PES:
-
With your design still open in Inkscape, go to File > Save As.
-
In the file type dropdown, select .PES (Brother/Babylock embroidery format) .
-
Name your file something simple (letters and numbers only, no spaces or special characters) and save it to your computer.
B. Transfer to your machine:
-
Copy the .PES file onto a USB drive formatted as FAT32. This is critical; Brother machines often will not read exFAT or NTFS drives .
-
Insert the USB drive into your embroidery machine.
-
Navigate to the USB folder on your machine’s screen and select your design.
C. The golden rule: test stitch on scrap fabric.
Never stitch your final garment first. Hoop a scrap of the exact same fabric you plan to use, with the appropriate stabilizer. Run the design. Examine the result .
-
Is it puckering? You may need more underlay or lower density.
-
Are details blurry? The design may be too small or need satin stitches instead of fill.
-
Does it look good? Congratulations—you’re ready for production.
Alternative Free Methods (When Ink/Stitch Feels Like Too Much)
Option A: SewArt 30-Day Free Trial
SewArt is a dedicated auto-digitizing program. Its 30-day fully functional trial is perfect for one-off projects. The Image Wizard guides you through color reduction and auto-assigns stitches. The trial limits you to six colors, which is plenty for most simple logos .
Option B: Brother Artspira (For Wireless Machine Owners)
If you own a modern, Wi-Fi enabled Brother machine, the free Artspira app can import images and convert them to embroidery. However, the image-to-stitch feature requires an Artspira+ subscription after your free trial ends .
Option C: Online Converters (Use with Extreme Caution)
Sites like AnyConv or Convertio offer instant JPG-to-PES conversion . They are unreliable. They produce low-quality stitch files with poor density, no underlay, and distorted details. Only use them for the simplest, least critical designs .
Common Beginner Mistakes (And How to Avoid Them)
| Mistake | Why It Fails | The Fix |
|---|---|---|
| Starting with a tiny, low-res JPG | The software has no detail to trace | Use a large, clean PNG or vector |
| Skipping the test stitch | The screen preview lies | Always test on scrap fabric first |
| Text smaller than 0.25 inches | Becomes an illegible blob | Enlarge text or remove it |
| Using online auto-converters | No underlay, no pull comp, poor quality | Use Ink/Stitch or SewArt trial instead |
| Overly complex designs | Machine can't handle it | Simplify. 3-6 colors max for first projects |
Frequently Asked Questions
Is Ink/Stitch really free forever?
Yes. It is open-source software supported by a community of developers and users. No subscriptions, no hidden fees .
Can I use Ink/Stitch for commercial work?
Yes. Ink/Stitch’s license permits commercial use. You can sell items embroidered with files you create .
My machine says "File Not Supported" but it's a PES file. Why?
Three common culprits: your USB drive is not FAT32, your file name has spaces or special characters, or you did not unzip the file before transferring .
Do I have to trace the image every time?
For Ink/Stitch, yes—you are creating vector paths that define stitch areas. This is what gives you such high-quality control. With practice, tracing a simple logo takes under five minutes .
What about photos? Can I turn a photo into PES?
Technically, yes. Realistically, no—not with free tools and not in three steps. Photorealistic embroidery requires advanced manual digitizing. Start with solid graphics .
Conclusion: You Just Made an Embroidery File
That’s it. Three steps. You prepared your image, you turned it into stitches with Ink/Stitch, and you exported a PES file ready for your Brother or Babylock machine.
The barrier to entry for custom embroidery digitizing has never been lower. You do not need to spend hundreds of dollars on software to create clean, functional, professional-quality embroidery files. You need a clean image, a free open-source tool, and the patience to run one test stitch.
The next time someone asks how you Convert Image To PES File Free, you can tell them exactly how—because you just did it yourself. Now go stitch that design.

 English
 Arabic
 Spanish
 Portuguese
 Deutsch
 Turkish
 Dutch
Dutch
 Italiano
 Russian
 Romaian
 Portuguese (Brazil)
 Greek
Greek
 Bengali